In one corner, along one leg of an 'L' I have my two variable speed Covington units with 8x3 rubber wheels and diamond sanding belts. The corner cabinet and end cabinet give me lots of room to stash stuff and things. You can also see the drainage system of 1 12" ABS pipe with the poly tube drain lines from the equipment fed into the pipes. You can also see I am big on wall mounted task lights that can be positioned close the work and easily moved out of the way too.

On the wall, I have run surface mounted electric circuits for the equipment and a water supply line with shut offs for each water feed to each individual sanding/polishing wheel. Additionally each wheel has a needle valve to precisely control the water flow to the wheel.

Along the other leg of the 'L' you can see my 8" flat lap on the right, and a rack of laps in the corner, a 6 wheel Diamond Pacific 'Pixie', which I use primarily for sanding and polishing opals, in the middle, and on the left end is a 'Rock Rascal' 6" trim saw. Another handy narrow base cabinet supports this end of the 'L'. There is never a shortage of stuff needing a place to live. Since this picture was taken a new small two wheel buffer has taken up residence on the end of the bench for final polishing of opals only. (I don't buff regular cabochons - I polish up to 100,000 diamond mesh on the Covingtons)
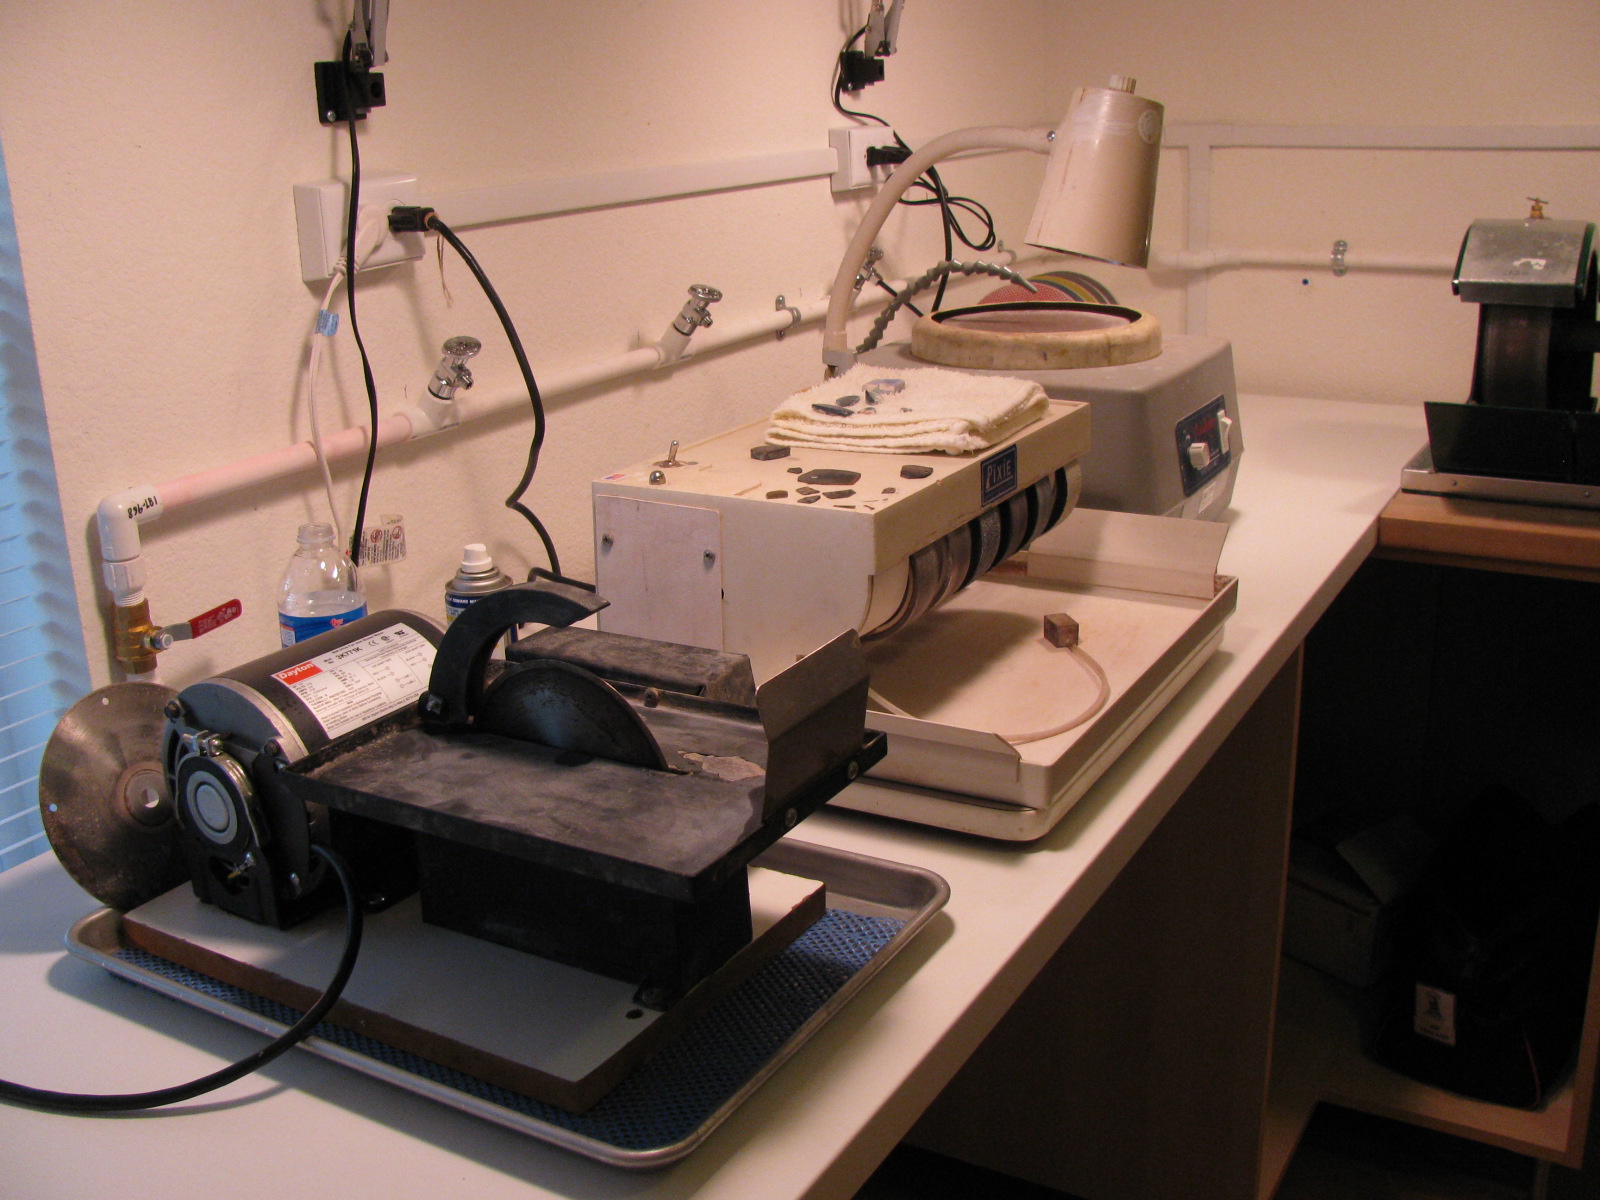
To keep everything neat and clean, the trim saw, mounted on a piece of MDF board, is sitting in commercial restaurant 1/2 sheet pan. Under the saw and under the pan is a piece of mesh rubber tool drawer liner which keeps it all in place with no slipping. In this picture you can also see the main shut off ball valve on the water line.

Opposite the 'L' with the power equipment is my work bench where I layout my template lines on slabs, dop the stones either using wax and wooden dowels, the old fashioned way, or more commonly, glue up the saw trimmed preforms onto machine screws for use with my aluminum dop sticks. (See related post)
This is also where I measure, weigh, label, bag and record the information on each cab for my inventory.

Adjacent to the work bench is a closet and next to that is a bookcase. You can see a large double stack machinist's tool chest, full of useful things I need in the shop. You can also see egg crates on one of the shelves which hold partially finished pieces and saw trimmed preforms I intend to work on. The bottom two rows of the book shelf hold plastic shoe boxes full of slabs.
By the way..... I was raised as a tool & die maker in the family injection mold making business..... so, no - I didn't clean up the shop for the photos. I always keep it clean. really!
I hope you enjoyed the tour.